Summer is just around the corner—and so are summer vacations. In preparation for travel this year, I replaced all four wheels on my suitcase. I chose to repair the wheels, rather than buying a new suitcase, in part because it is a sustainable option, but also because my suitcase is not otherwise damaged (I purchased it in 2019), and simply repairing the wheels will save money.
My suitcase is a Delsey brand carry-on bag. While these next steps may not be applicable to all makes and models, they will hopefully give some general guidance for anyone trying to prolong the life of their luggage by repairing it.
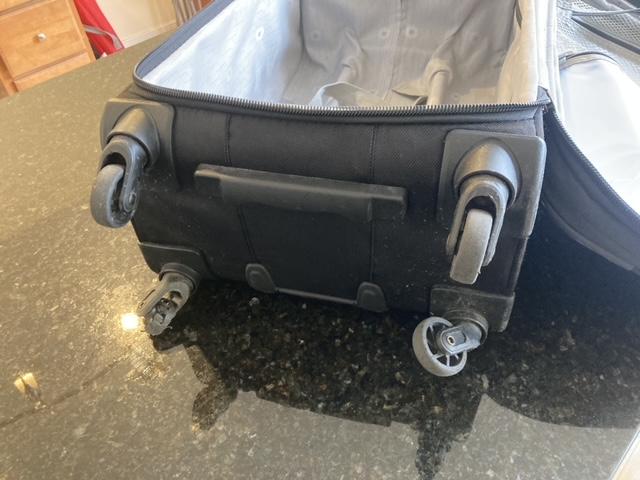
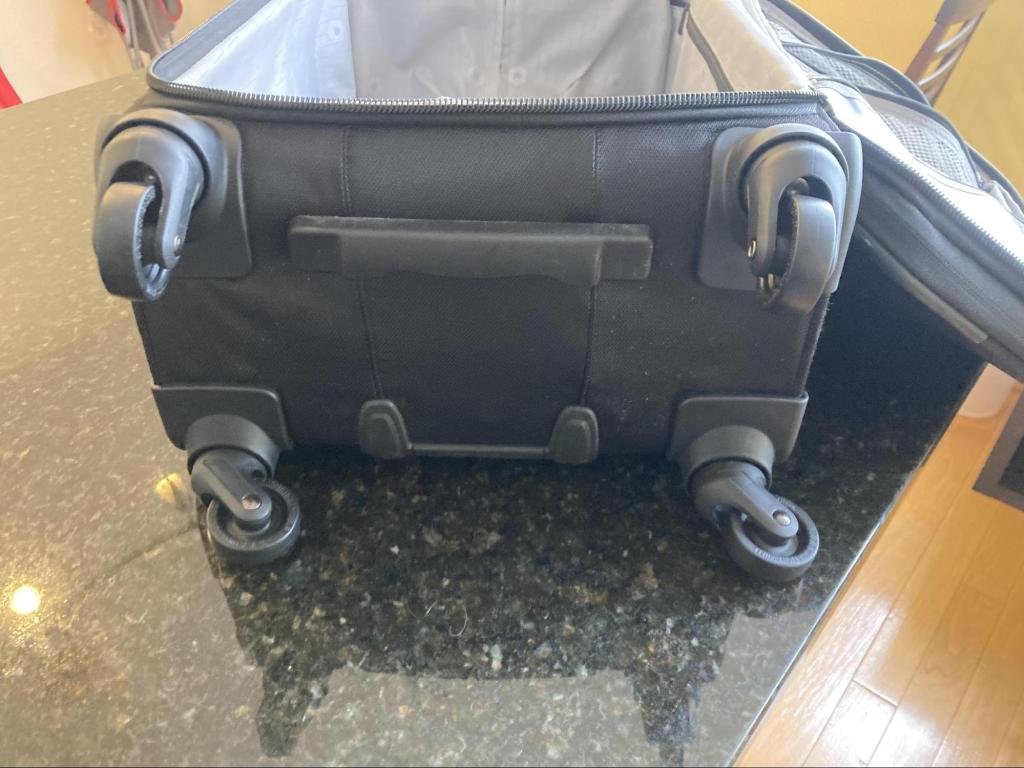
Above is a photo of my suitcase prior to repair. All of the wheels are worn, and the wheel on the bottom left is worn down to the spokes and usually drags on the ground. I replaced all four wheels so that the suitcase would still be level with the ground after the repair.
Prior to repair, I purchased a new wheel from Amazon. In my case, the product I purchased included dimensions of the screw-holes in a photo. I was able to measure the equivalent dimensions for my existing wheels before making the purchase. [Wheels for a variety of models are available on this site. If you prefer not to use this site, wheels or other luggage parts might be available at your local luggage or shoe repair shops.]
The following are the steps I followed to repair my suitcase:
Unzip lining of the luggage to get to brackets holding wheels.
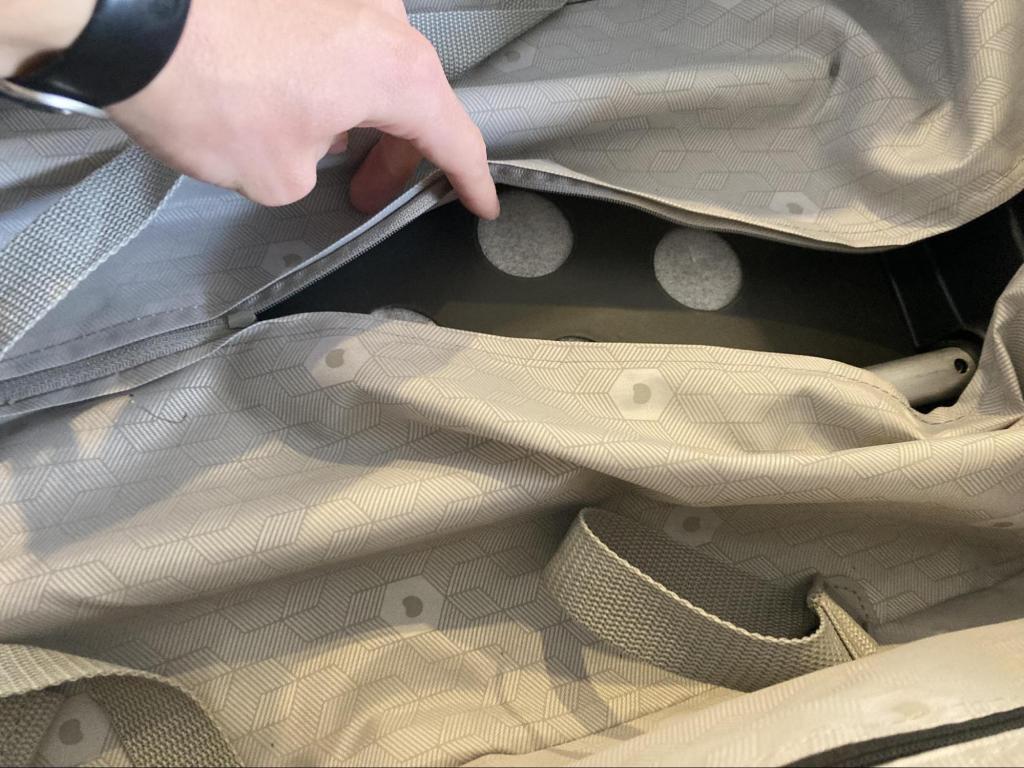
Unscrew the bracket holding the wheel you are replacing in place.

Remove old wheel assembly. [Note that the screw dimensions of the old and new wheel assemblies are the same. I would recommend checking this before ordering the new wheels online.]
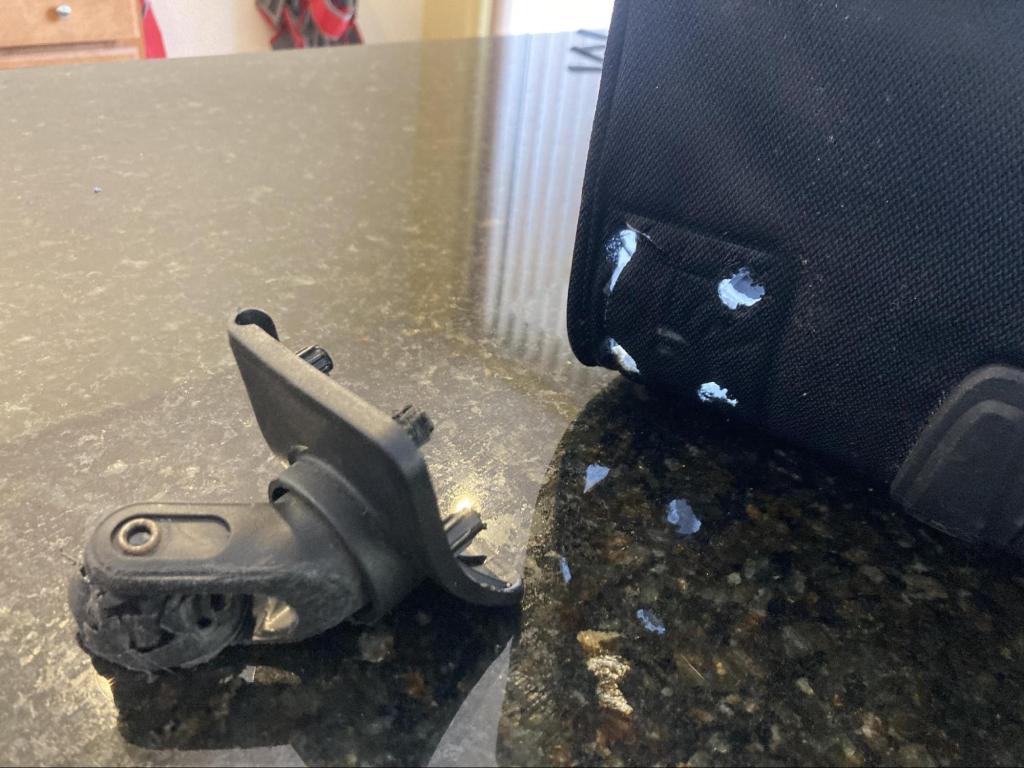
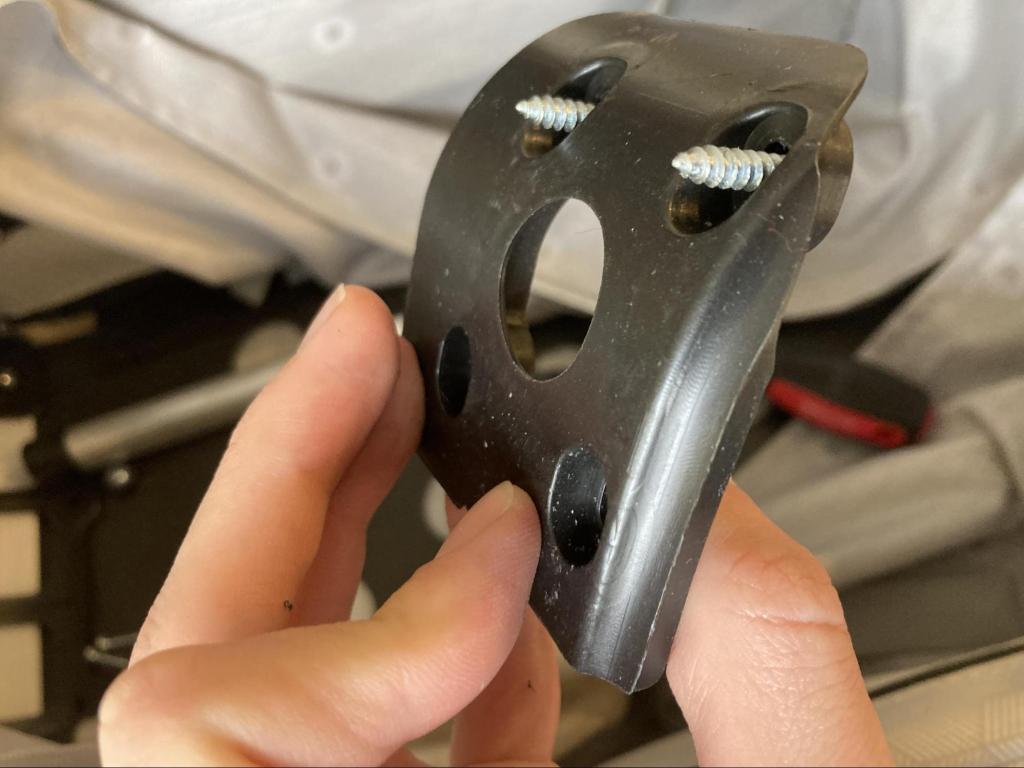
Even though the screws have the same distance, the old bracket (below, left) is smaller than the new bracket (below, right). This caused problems given the dimensions of my luggage, so I replaced the new bracket with the old bracket. [Note that it is always helpful to save all of the original pieces during a DIY project, in case you need to use the original hardware.]

If you find yourself in a position where you need to use some of the original hardware, see the below step: Line up screws to put the old bracket on the new wheel assembly.
Below is the finished product with all new wheels. I’m ready for vacation!